---
layout: post
title: "从0开始利用github pages搭建个人博客"
date: 2019-11-22
tags: [geek]
comments: true
author: lemonchann
---
用github pages 来写博客非常简单,搭建也是十分容易。follow me.
## 建立博客Git仓库
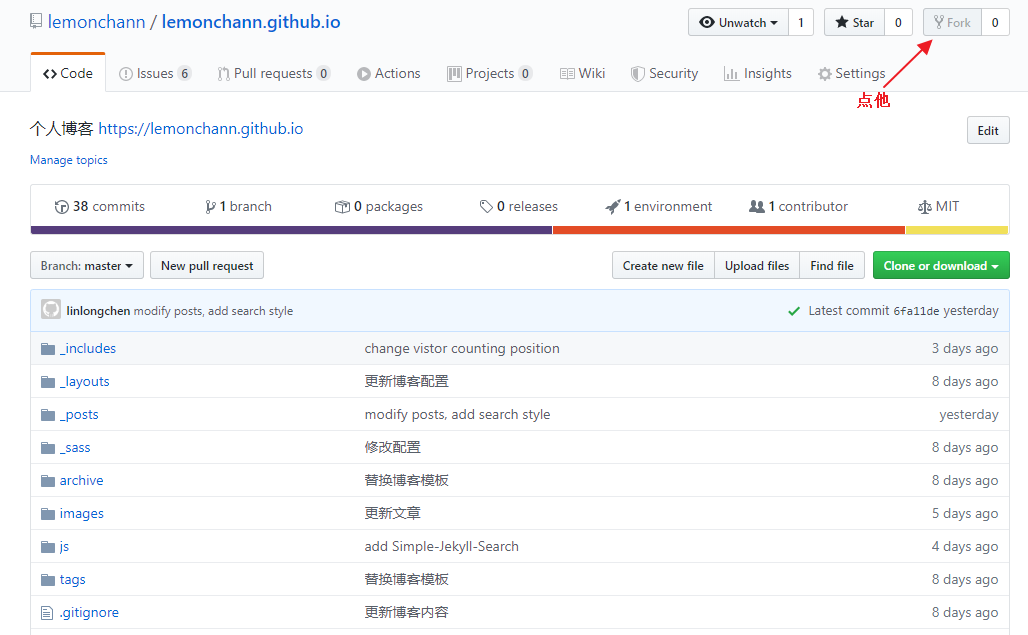
首先你要在[github](https://github.com/)上有自己博客仓库,用来生成和存放博客文章。你可以直接fork我的博客仓库。这样你马上有了自己的博客仓库。
[点这里我的博客地址](https://github.com/lemonchann/lemonchann.github.io)进去fork,之后在你自己的仓库下会看到刚复制的仓库。以后的操作都在你自己的仓库进行。
**注意**: fork之后_posts文件夹内容是我的博客文件,你需要删除。版权归我所有,转载需注明出处。
## 修改博客仓库名称
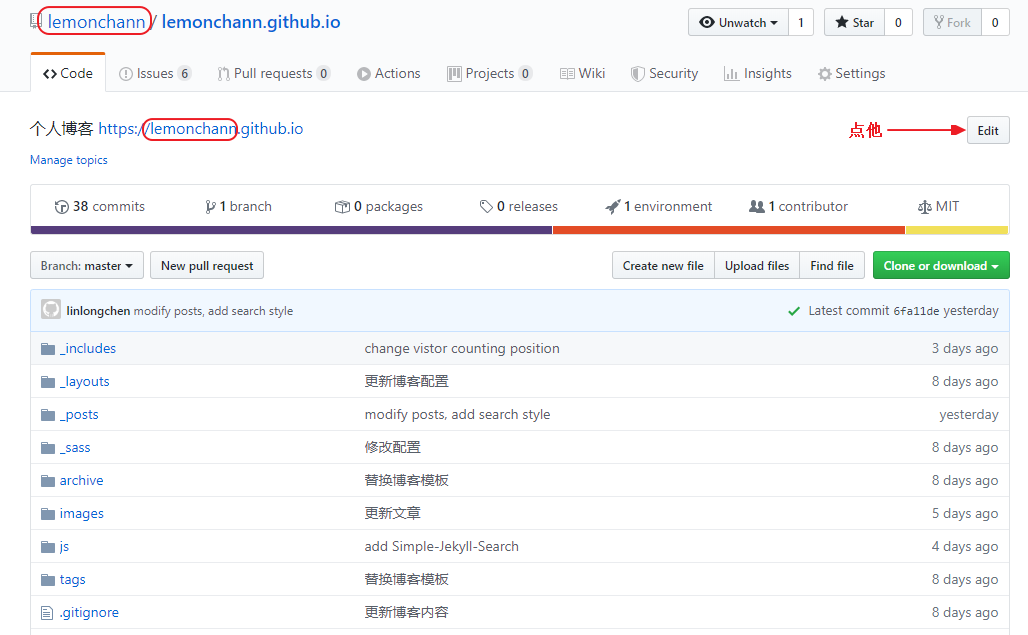
进到你自己的博客仓库,修改博客仓库名称成你自己的用户名。github page解析的时候找的是这个 username.github.io的仓库名。
此时,不出意外的话,打开域名https://username.github.io 就能看到你刚搭建的博客了。*注意替换username成你自己的github用户名*。
## 博客配置
上面点开域名看到的还是我的博客配置,显示的博客名字也是我的。还需要更改配置才是你的博客。
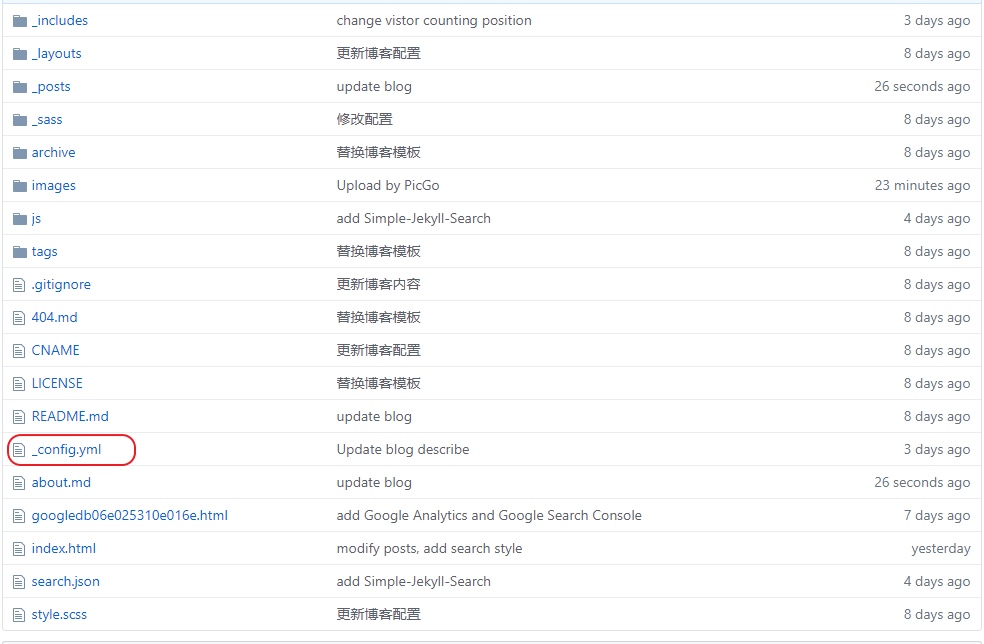
博客的配置文件是仓库根目录下的_config.yml文件,直接点开它编辑。
你还需要更改以下配置:
### 博客名称和描述
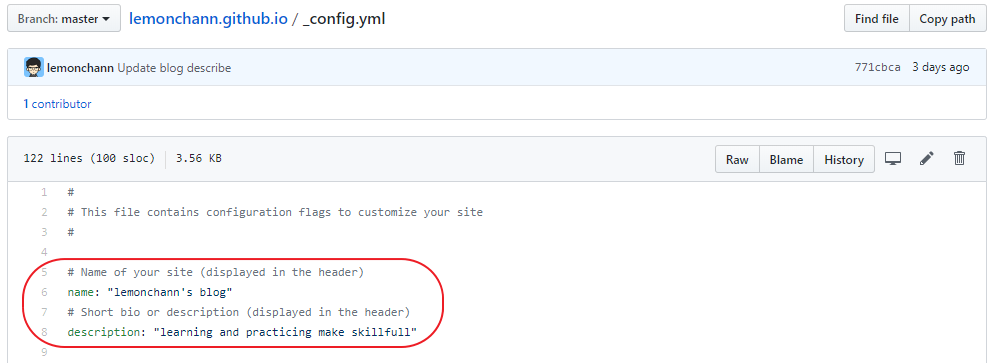
分别是博客名称和描述,自己任意写点啥。
### 博客社交链接
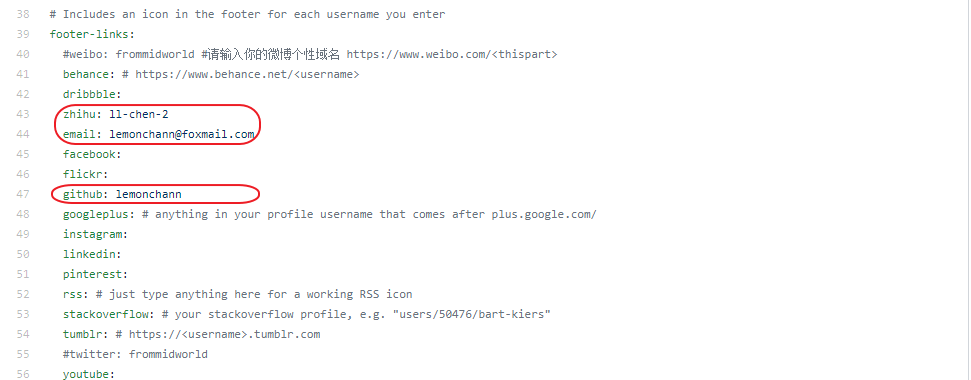
这里配置社交链接按钮,没配的不显示,我现在配了知乎、邮箱、github账号三个。其他你想加自己加上就可以。
### 配置gitalk
这个是评论功能的配置。评论功能基于gitalk,在配置文件中找到gitalk配置项目:
修改规则如下:
```yml
gitalk:
clientID: <你的clientID>
clientSecret: <你的clientSecret>
repo: <你的repository名称>
owner: <你的GitHub用户名>
```
原理是利用github的issues评论文章。其中clientID和clientSecret需要[点击这里创建](https://github.com/settings/applications/new)
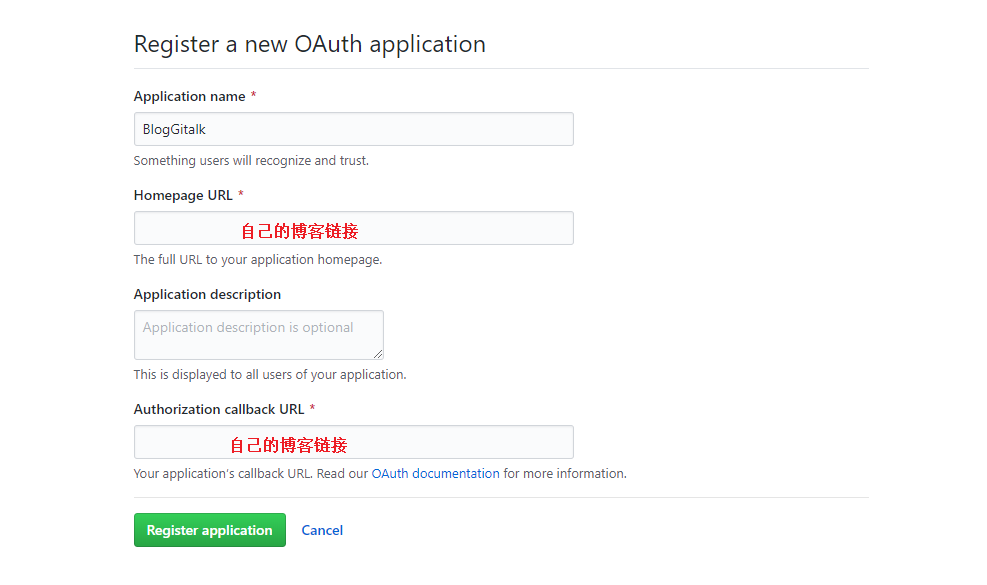
点绿色按钮创建,成功之后会得到以上两个id,修改配置即可。
### Google站长统计
首先你要去注册一个[Google Analytics]( https://analytics.google.com/analytics/ )账号,它可以统计你博客网站的访问人数,访问来源等非常丰富的网站数据。如果你不在乎可以不用跳过这节。不过要把配置中我的`google_analytics: UA-XXXXXXX-X`删除,**否则统计到我的去了**。
```
# Enter your Google Analytics web tracking code (e.g. UA-2110908-2) to activate tracking
google_analytics: UA-XXXXXXX-X
```
下面是我的网站实时分析页面展示:
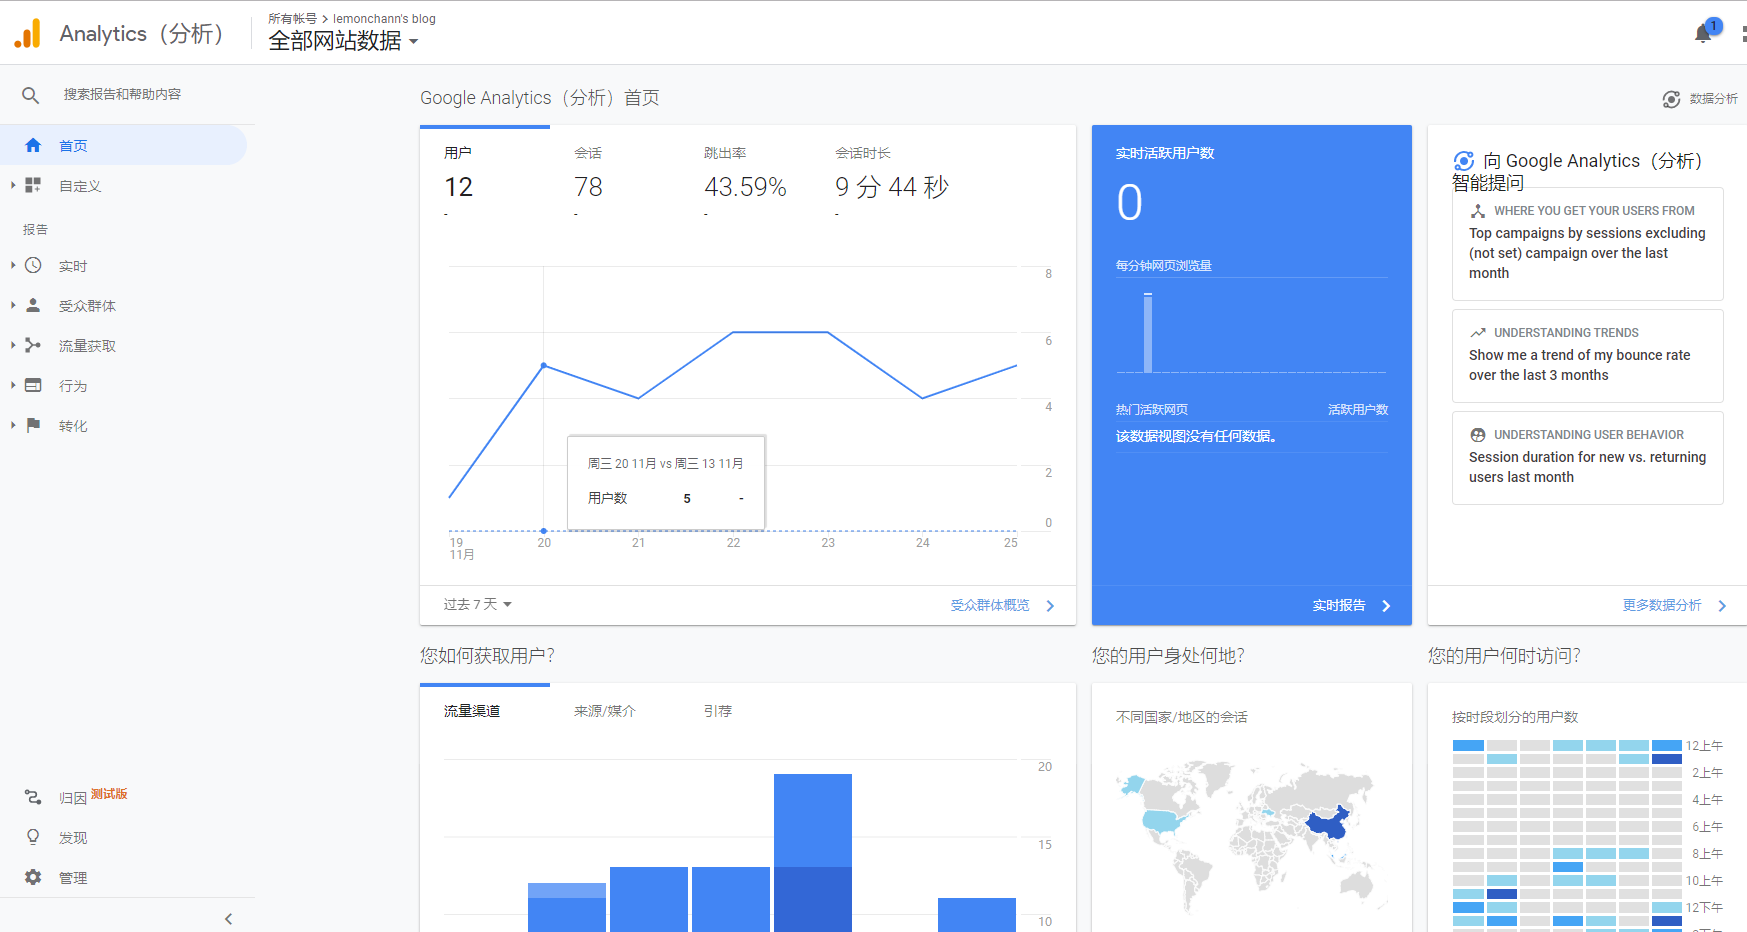
由于不可描述的原因,有些人注册Google可能会遇到问题,所有不配置也没关系。
### 博客网址配置
```
# Your website URL (e.g. http://barryclark.github.io or http://www.barryclark.co)
# Used for Sitemap.xml and your RSS feed
url: https://yourname.github.io
```
这里配置你自己的博客地址。
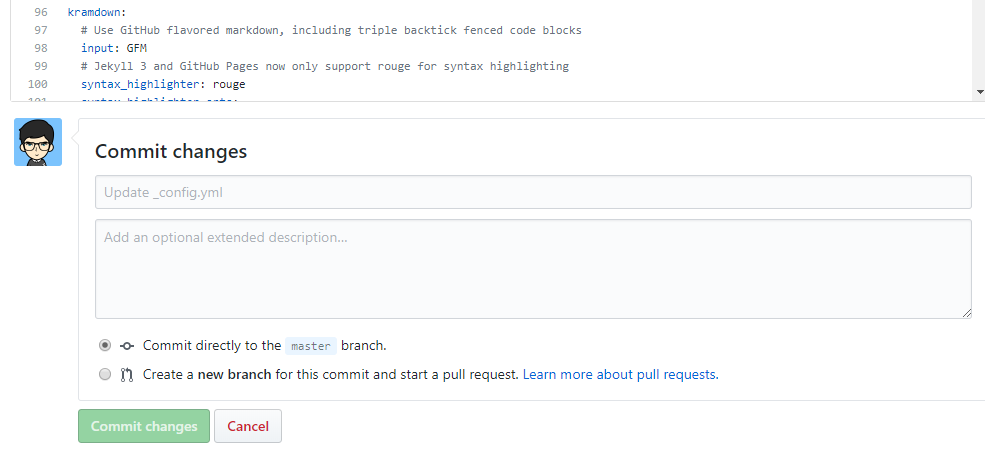
### 配置提交
## 搜索功能集成
[Simple-Jekyll-Search](https://github.com/christian-fei/Simple-Jekyll-Search)
### 配置search.json
[复制这份代码到你博客的根目录](https://github.com/christian-fei/Simple-Jekyll-Search/blob/master/example/search.json)
这个配置文件代表可以搜索博客的标题、标签、时间、分类。
### 配置index.html
```html
```
## 搜索框样式
[html插入样式方法](https://blog.csdn.net/u014103733/article/details/72961366)
参考:[jekyll search搭建](https://cloud.tencent.com/developer/article/1119290)
## 社交链接
以增加zhihu链接为例
[svg icon仓库](https://github.com/FortAwesome/Font-Awesome/blob/516a62816c76255dc92ed55b906e9dca5a21b28b/svgs/brands/zhihu.svg)
[viewBox](https://developer.mozilla.org/zh-CN/docs/Web/SVG/Attribute/viewBox)
> viewBox属性的值是一个包含4个参数的列表 `min-x`, `min-y`, `width` and `height`, 以空格或者逗号分隔开, 在用户空间中指定一个矩形区域映射到给定的元素,查看属性
[深入简出 SVG 教程](https://zhuanlan.zhihu.com/p/36138381)
修改root目录下index.html
### 配置_config.yml
```yml
footer-links:
weibo: yourname #请输入你的微博个性域名 https://www.weibo.com/
zhihu: yourname #输入你知乎主页链接上的名字 https://https://www.zhihu.com/people/
```
### 修改svg-icons.html
文件路径在_include/svg-icons.html下,增加zhihu链接
```html
{% if site.footer-links.zhihu %}
{% endif %}
```
## 添加网站计数
[html颜色表](http://xh.5156edu.com/page/z1015m9220j18754.html)
[html style属性](https://www.geeksforgeeks.org/html-style-attribute/)
eg. `style="font-family:arial;color:Gainsboro;font-size:10px; text-align:right;width:200px;background-color:gray;`
### 不算子
统计原理,[官方指引](http://ibruce.info/2015/04/04/busuanzi/#more)
### 修改根目录下index.html
增加如下内容:
```html
View:
User:
```
## 如何传图片
[PicGo](https://picgo.github.io/PicGo-Doc/zh/guide/)
## 其他功能
[小功能](https://blog.csdn.net/ds19991999/article/details/81293467)
[好用的github插件](https://blog.csdn.net/u012702547/article/details/100533763)
## 网站结构
根目录的index.html生成blog首页
_include/footer.html生成侧边栏
_include/svg-icons.html生成社交头像的链接
## 问题汇总
[jekyll端口被占用EACCES](https://www.iteye.com/blog/ywsm-510670)