---
layout: post
title: "可能是最全面的github pages搭建个人博客教程"
date: 2019-11-22
tags: [geek]
comments: true
author: lemonchann
---
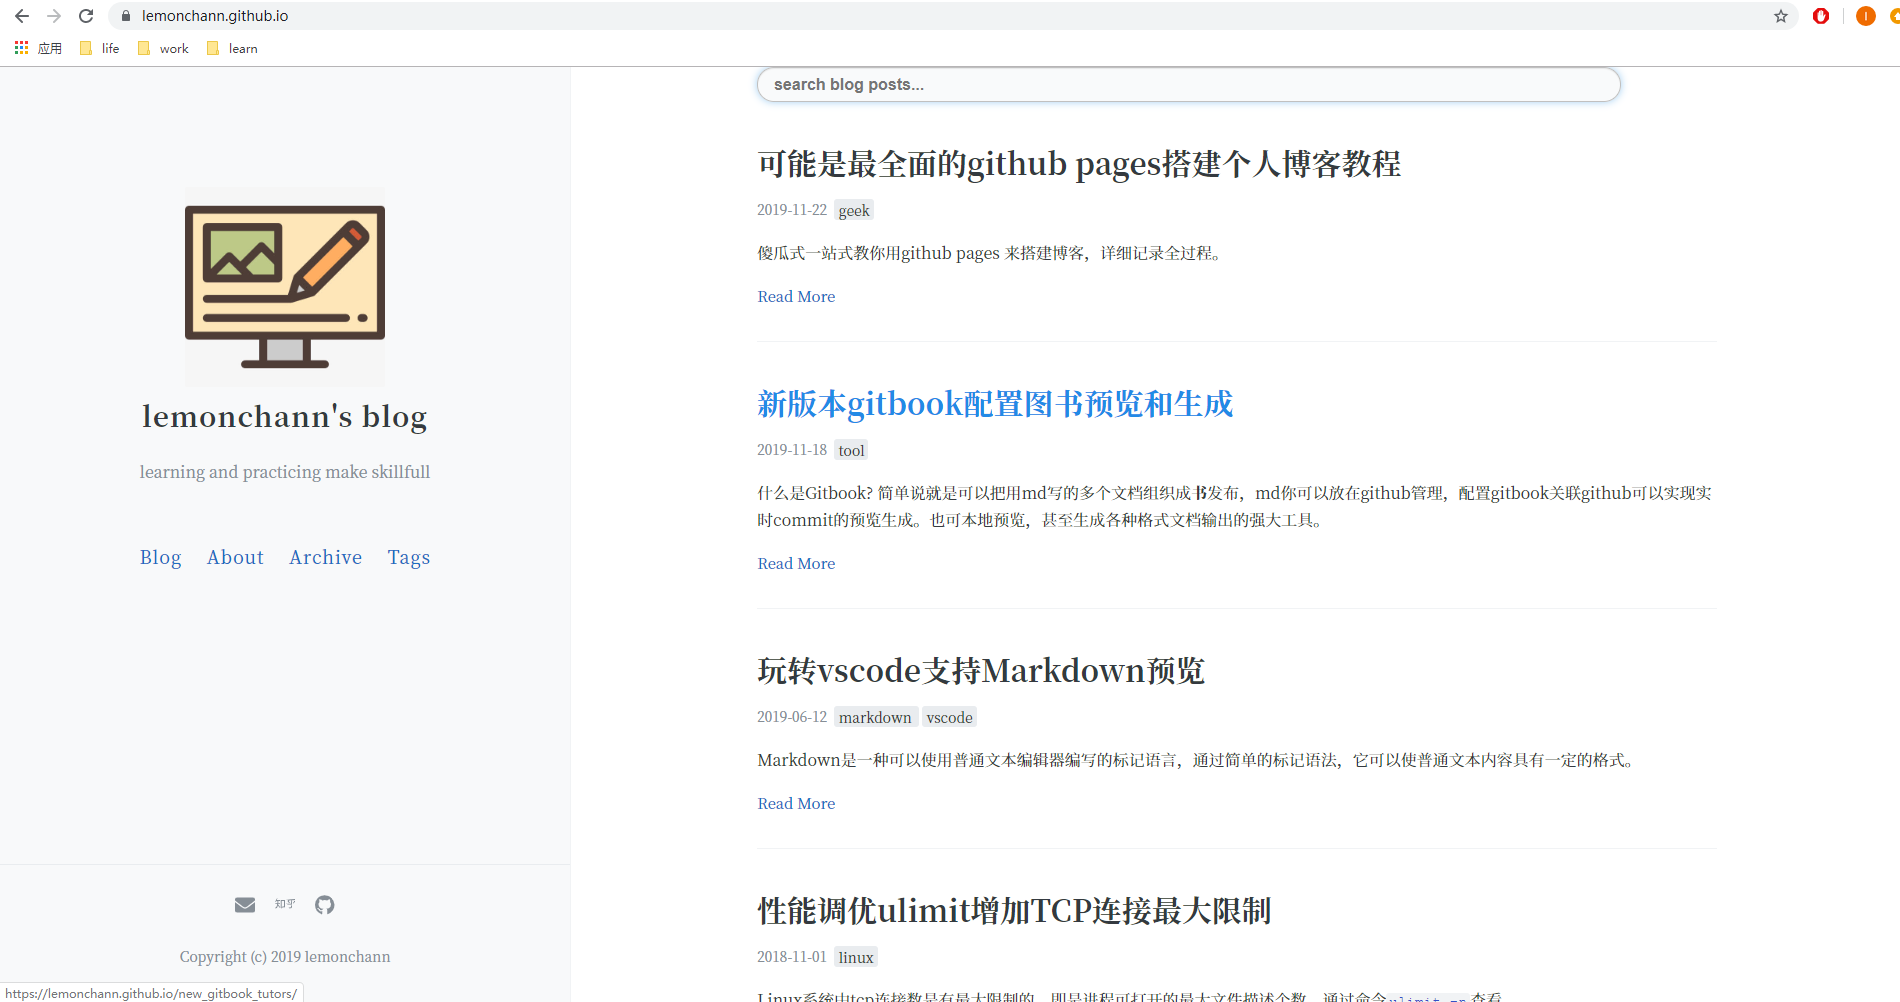
作为一个程序员怎么能没有自己的个人博客呢,这里详细记录和分享我的博客搭建经验,让你轻轻松松拥有自己的博客网站。 傻瓜式一站式教你用github pages 来搭建博客,详细记录全过程。
## 开始
先看下博客整体效果。[**点击在线预览我的博客**]( https://lemonchann.github.io/ )
### 支持特性
- 简约风格博客
- Powered By Jekyll
- 博客文章搜索
- 自定义社交链接
- 网站访客统计
- Google Analytics 网站分析
- Gitalk评论功能
- 自定义关于about页面
- 支持中文布局
- 支持归档与标签
## 建立博客Git仓库
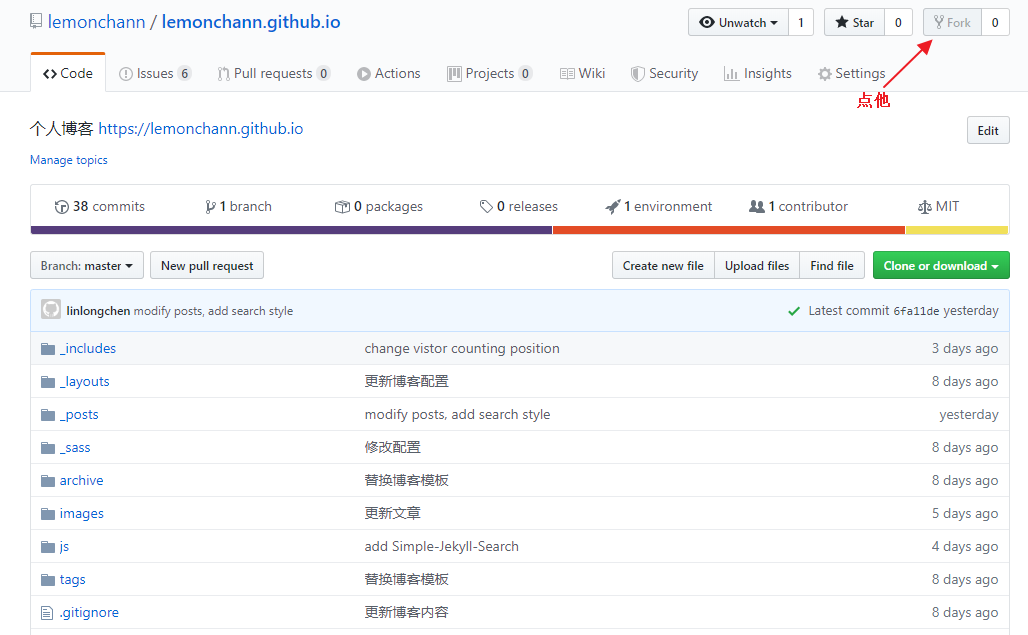
首先你要在[github](https://github.com/)上有自己博客仓库,用来生成和存放博客文章。你可以直接fork我的博客仓库。这样你马上有了自己的博客仓库。
[点这里我的博客地址](https://github.com/lemonchann/lemonchann.github.io)进去fork,之后在你自己的仓库下会看到刚复制的仓库。以后的操作都在你自己的仓库进行。
**版权声明: fork之后_posts文件夹内容是我的博客文章,版权归我所有。你可以选择删除里面的文章替换上自己的或者转载附上链接注明出处。 **
## 修改博客仓库名称
进到你自己的博客仓库,修改博客仓库名称成你自己的用户名。github page解析的时候找的是这个 username.github.io的仓库名。
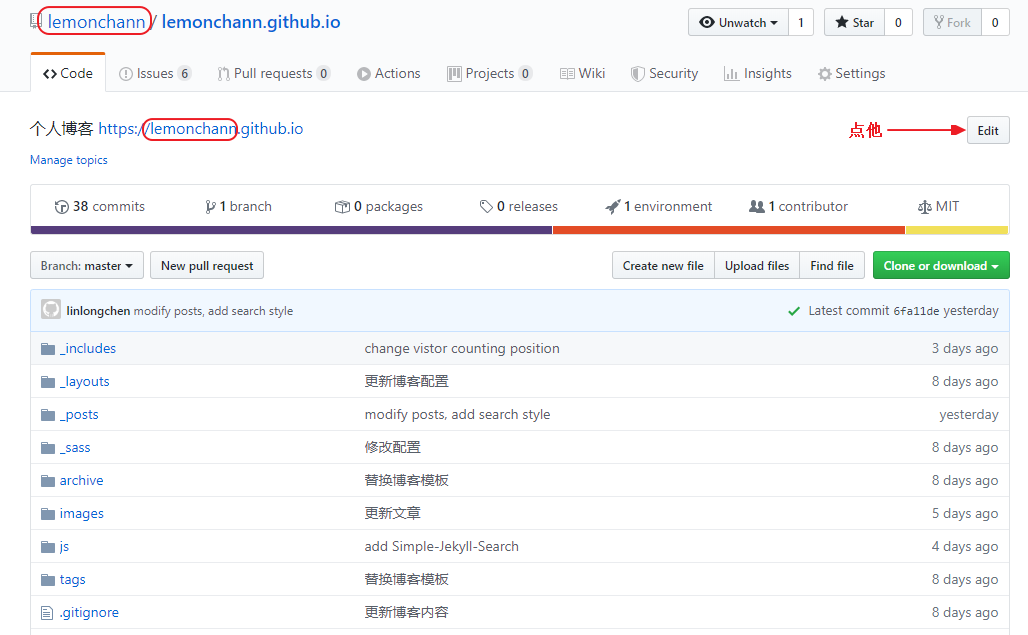
此时,不出意外的话,打开域名https://username.github.io 就能看到你刚搭建的博客了。*注意替换username成你自己的github用户名*。
## 博客配置
上面点开域名看到的还是我的博客配置,显示的博客名字也是我的。还需要更改配置才是你的博客。
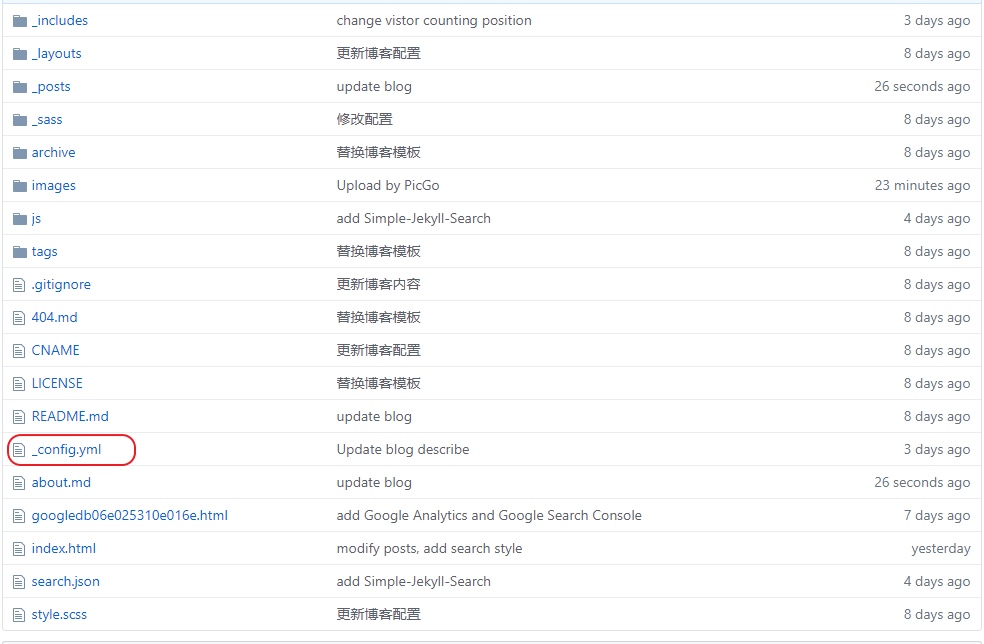
博客的配置文件是仓库根目录下的_config.yml文件,直接点开它编辑。
你还需要更改以下配置:
### 博客名称和描述
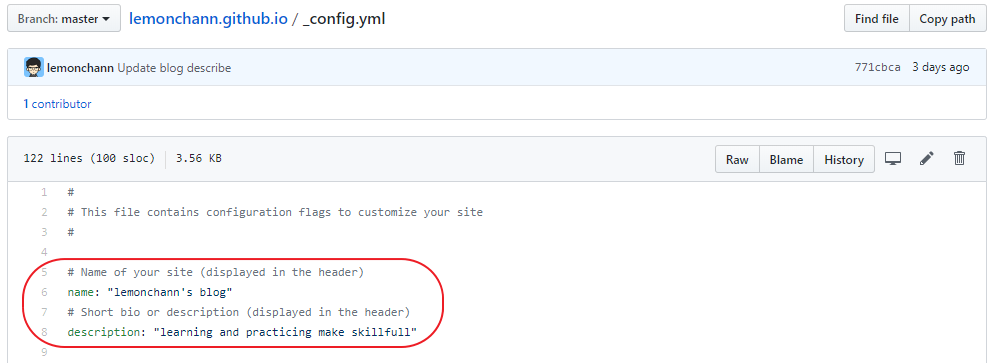
分别是博客名称和描述,自己任意写点啥。
### 博客社交链接
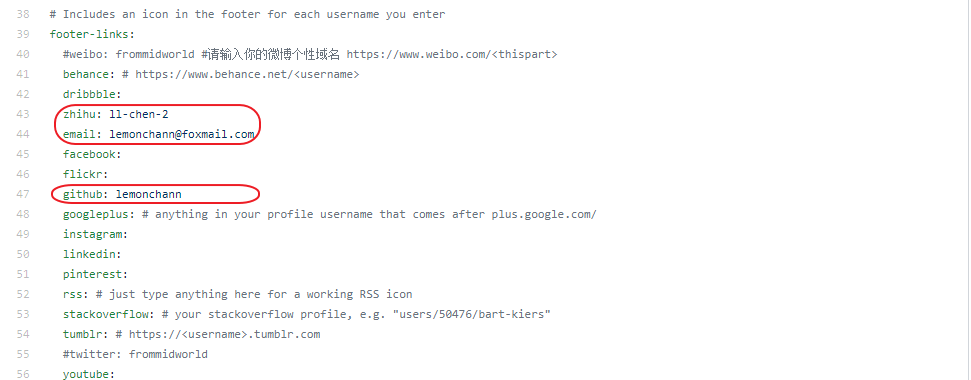
这里配置社交链接按钮,没配的不显示,我现在配了知乎、邮箱、github账号三个。其他你想加自己加上就可以。
### 配置gitalk
这个是评论功能的配置。评论功能基于gitalk,在配置文件中找到gitalk配置项目:
修改规则如下:
```yml
gitalk:
clientID: <你的clientID>
clientSecret: <你的clientSecret>
repo: <你的repository名称>
owner: <你的GitHub用户名>
```
原理是利用github的issues评论文章。其中clientID和clientSecret需要[点击这里创建](https://github.com/settings/applications/new)
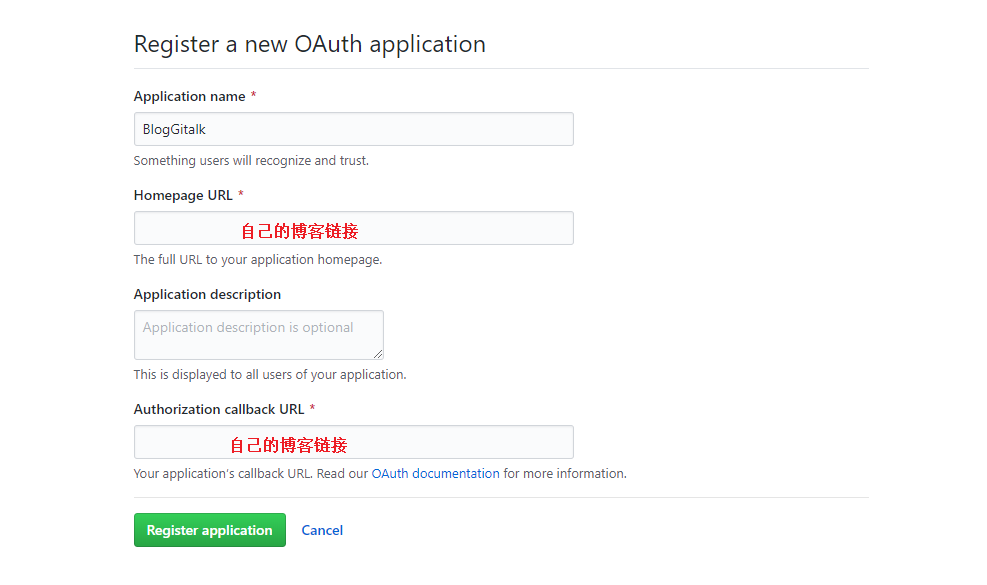
点绿色按钮创建,成功之后会得到以上两个id,修改配置即可。
### Google站长统计
首先你要去注册一个[Google Analytics]( https://analytics.google.com/analytics/ )账号,它可以统计你博客网站的访问人数,访问来源等非常丰富的网站数据。如果你不在乎可以不用跳过这节。不过要把配置中我的`google_analytics: UA-XXXXXXX-X`删除,**否则统计到我的去了**。
```
# Enter your Google Analytics web tracking code (e.g. UA-2110908-2) to activate tracking
google_analytics: UA-XXXXXXX-X
```
下面是我的网站实时分析页面展示:
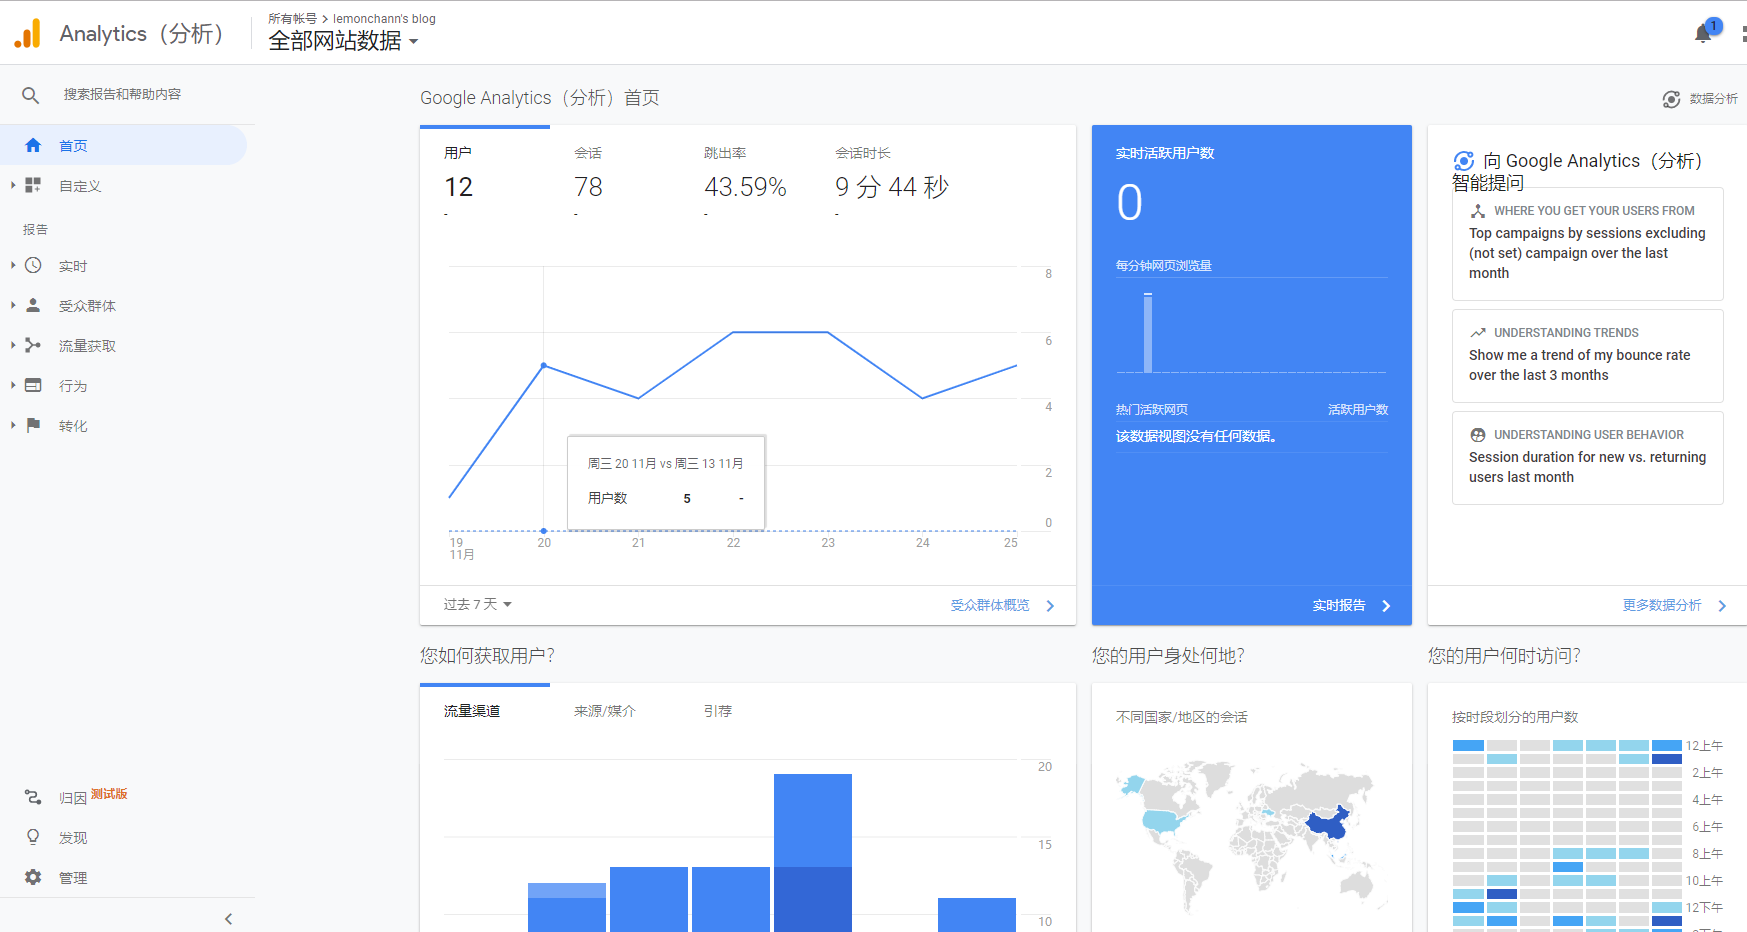
由于不可描述的原因,国内注册账号可能会遇到问题,所有不配置也没关系。
### 博客网址配置
```
# Your website URL (e.g. http://barryclark.github.io or http://www.barryclark.co)
# Used for Sitemap.xml and your RSS feed
url: https://yourname.github.io
```
这里配置你自己的博客地址。
### 配置提交
对_config.ymld的修改需要提交才能生效,点下图中绿色按钮提交。
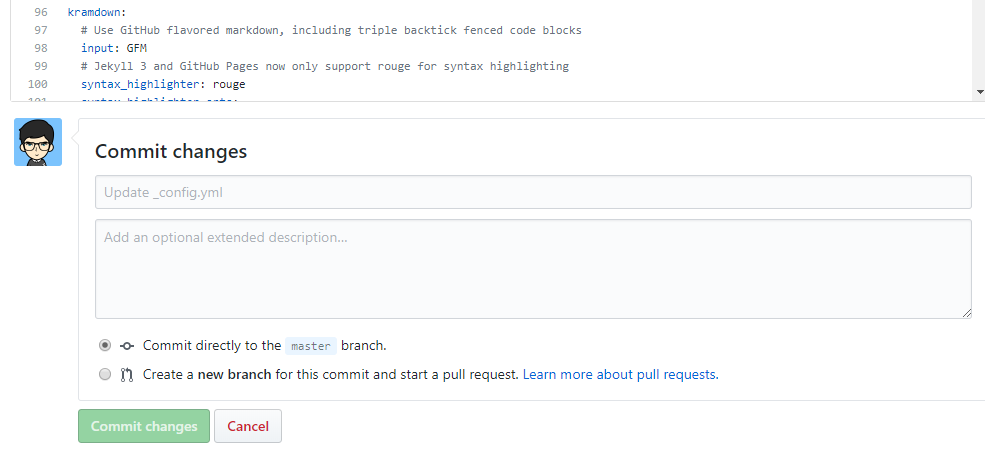
**done! 现在输入上面提到的博客地址,回车,你拥有了自己的博客。**
## 如何写博客
好了,博客有了。如何更新文章呢?
文章用markdown语法,写好统一放在_post文件夹下上传,git page会自动从你的git仓库拉去解析成网页,立刻就能在你的博客网页浏览。
关于文章的**命名格式**:博客文章必须按照统一的命名格式 `yyyy-mm-dd-blogName.md` 比如我这篇博客的名字是`2019-11-22-create_blog_with_github_pages.md`
**看到这里,如果只是简单的想写博客,后面的不看也可以了,后面章节是记录一些DIY的过程。**
## 本地博客预览
到目前为止,我们提交的文章都是必须上传到github仓库才能预览。如果你想写完在本地浏览器看一下效果在上传也是可以的,因为不是所有人都有这样的需求。
### 安装 Ruby 和 DevKit
在官网下载,[点这里]( https://rubyinstaller.org/downloads/ )下载适合系统版本的 [Ruby+Devkit](https://github.com/oneclick/rubyinstaller2/releases/download/RubyInstaller-2.6.5-1/rubyinstaller-devkit-2.6.5-1-x64.exe) 包。安装,弹出的窗口选3

`gem -v` `ruby -v` 查看得到版本号就说明成功了。
如果是在墙内,需要切换安装源到https://gems.ruby-china.com/。墙外请忽略。
`gem sources --add https://gems.ruby-china.com/ --remove https://rubygems.org/` 切换安装源
`gem sources -l` 查看版本
### bundler安装
`gem install bundler` 安装bundler
`bundle -v 查看版本
bundle config mirror.https://rubygems.org https://gems.ruby-china.com` 切换安装源
### 安装jekyll
` gem install jekyll`

### 预览博客
` jekyll server` 输入之后打开浏览器,不出意外输入localhost:4000即可看到博客内容。

如果你没这么顺利,那以下的错误解决供参考
#### 常见错误
- 缺少某个包

如图,缺少jekyll-paginate,安装即可`gem install jekyll-paginate`若还提示缺少就装啥。

- 权限拒绝
socket.rb:201:in `bind` :Permission denied - bind(2) for 127.0.0.1:4000 (Error:EACCES)

出现这个错误一般是4000端口被占用了,解决方法:
1. netstat -ano|findstr "4000" 找到占用4000端口的进程ID
2. 查看最后一列数字就是PID=312964

3. 打开windows资源管理器,结束该进程.
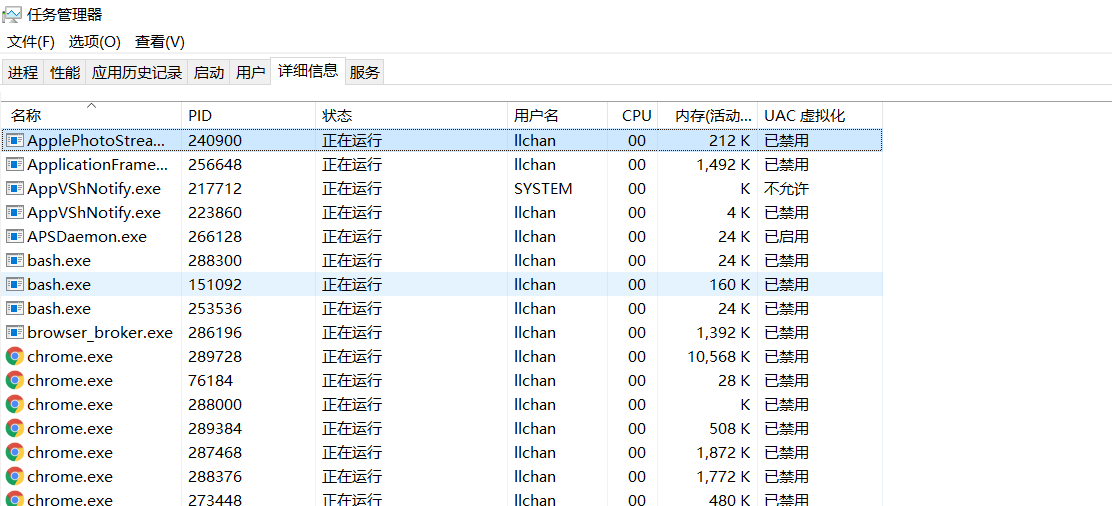
4. `$ tasklist|findstr 312964`也能查看进程名,查到结束掉他同步骤3.
## 搜索功能集成
博客模板本来是没有搜索功能的,搜索功能依赖[Simple-Jekyll-Search](https://github.com/christian-fei/Simple-Jekyll-Search)提供支持。
### 配置search.json
[复制这份代码到你博客的根目录](https://github.com/christian-fei/Simple-Jekyll-Search/blob/master/example/search.json)
这个配置文件代表可以按博客的标题、标签、时间、分类搜索。
### 下载simple-jekyll-searchj文件
[下载这整个文件夹](https://github.com/christian-fei/Simple-Jekyll-Search/tree/master/example/js),里面包含simple-jekyll-search.min.js和simple-jekyll-search.js两个文件,连同js文件夹放在你的根目录下面。
### 配置搜索框标签
在你想展示搜索框的页面我的是index.html,这个页面和每个人的博客模板有关,可能需要一点前端知识,添加如下的html标签。
```html
```
其中,以下两个是二选一的,一个是用云端的js一个是用本地的js如果本地有的话。
``
配置完成,打开博客,你得到这样一个搜索框。

## 搜索框样式
搜索框的样式是可以改变的,这里有修改HTML中CSS样式的方法,我搞后端的,前端现学现卖。
[html插入标签样式方法](https://blog.csdn.net/u014103733/article/details/72961366)
## 社交链接
模板提供的链接没有知乎链接,或者你想增加自定义的链接,都可以通过以下方法添加。以增加zhihu链接为例
链接的图片是svg格式的(我也刚知道),大概了解一下什么是svg和viewBox
[viewBox](https://developer.mozilla.org/zh-CN/docs/Web/SVG/Attribute/viewBox)
> viewBox属性的值是一个包含4个参数的列表 `min-x`, `min-y`, `width` and `height`, 以空格或者逗号分隔开, 在用户空间中指定一个矩形区域映射到给定的元素,查看属性
[深入简出 SVG 教程](https://zhuanlan.zhihu.com/p/36138381)
### 配置_config.yml
```yml
footer-links:
weibo: yourname #请输入你的微博个性域名 https://www.weibo.com/
zhihu: yourname #输入你知乎主页链接上的名字 https://https://www.zhihu.com/people/
```
### 修改svg-icons.html
因为footer.html中调用了svg-icons.html来生成社交链接。
可见是先调用了svg-icon.html显示社交链接,所以修改_include/svg-icons.html增加zhihu链接
```html
{% if site.footer-links.zhihu %}
{% endif %}
```
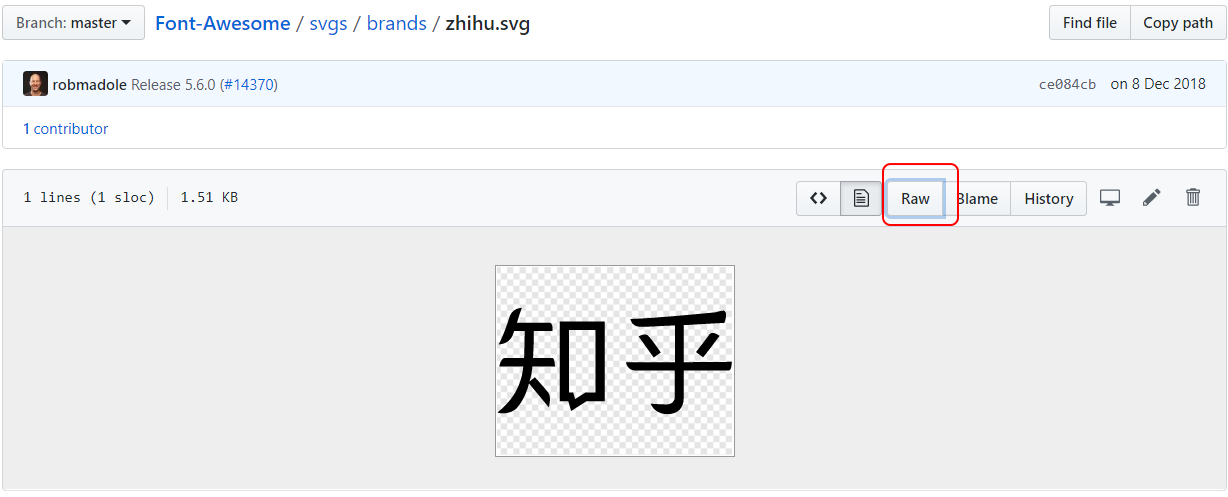
上面配置内容应该都能理解,`viewBox` 指定图片大小。
主要是`path d=` 内容的获取,这里其实是指定svg图片的内容,我们可以从 [这里](https://raw.githubusercontent.com/FortAwesome/Font-Awesome/master/svgs/brands/)获取到大部分svg素材,比如知乎的svg[在这](https://github.com/FortAwesome/Font-Awesome/blob/master/svgs/brands/zhihu.svg),点`raw` 按钮查看源文件,复制`path d=`后面的内容到上面的配置即可。
## 添加网站计数
网站统计[由不蒜子](http://busuanzi.ibruce.info/)提供支持,就是可以统计网站当前访问次数和人数。配置也非常简单,[官方指引](http://ibruce.info/2015/04/04/busuanzi/#more)在这里。
### 修改页面html
想让统计显示在哪个页面,需要修改那个页面的html,增加如下内容:
```html
View:
User:
```
### style标签说明
可以通过style标签改变字体颜色与大小。具体参考:[html颜色表](http://xh.5156edu.com/page/z1015m9220j18754.html)和[html style属性](https://www.geeksforgeeks.org/html-style-attribute/)
eg. `style="font-family:arial;color:Gainsboro;font-size:10px; text-align:right;width:200px;background-color:gray;`
## 如何传图片
写markdown最头疼的就是图片的插入了,推荐用[PicGo](https://picgo.github.io/PicGo-Doc/zh/guide/)一键上传得到链接,直接可以插入markdown。
PicGo支持图片上传github、SM.MS图床、阿里云、腾讯云等主流图床或云端。直接拖图片,上传云端、得到链接一步搞定,方便快捷。

## 其他功能
[小功能](https://blog.csdn.net/ds19991999/article/details/81293467)
[好用的github插件](https://blog.csdn.net/u012702547/article/details/100533763)
## 网站结构
根目录的index.html生成blog首页
_include/footer.html生成侧边栏
_include/svg-icons.html生成社交头像的链接
## 致谢
感谢Jekyll提供的技术支持才能有这个博客。
感谢[LOFFER](https://fromendworld.github.io/LOFFER/document/)提供的原始模板,我在其上进行的二次开发。